 Custom
 How to Measure Yourself for a Custom Wedding Dress
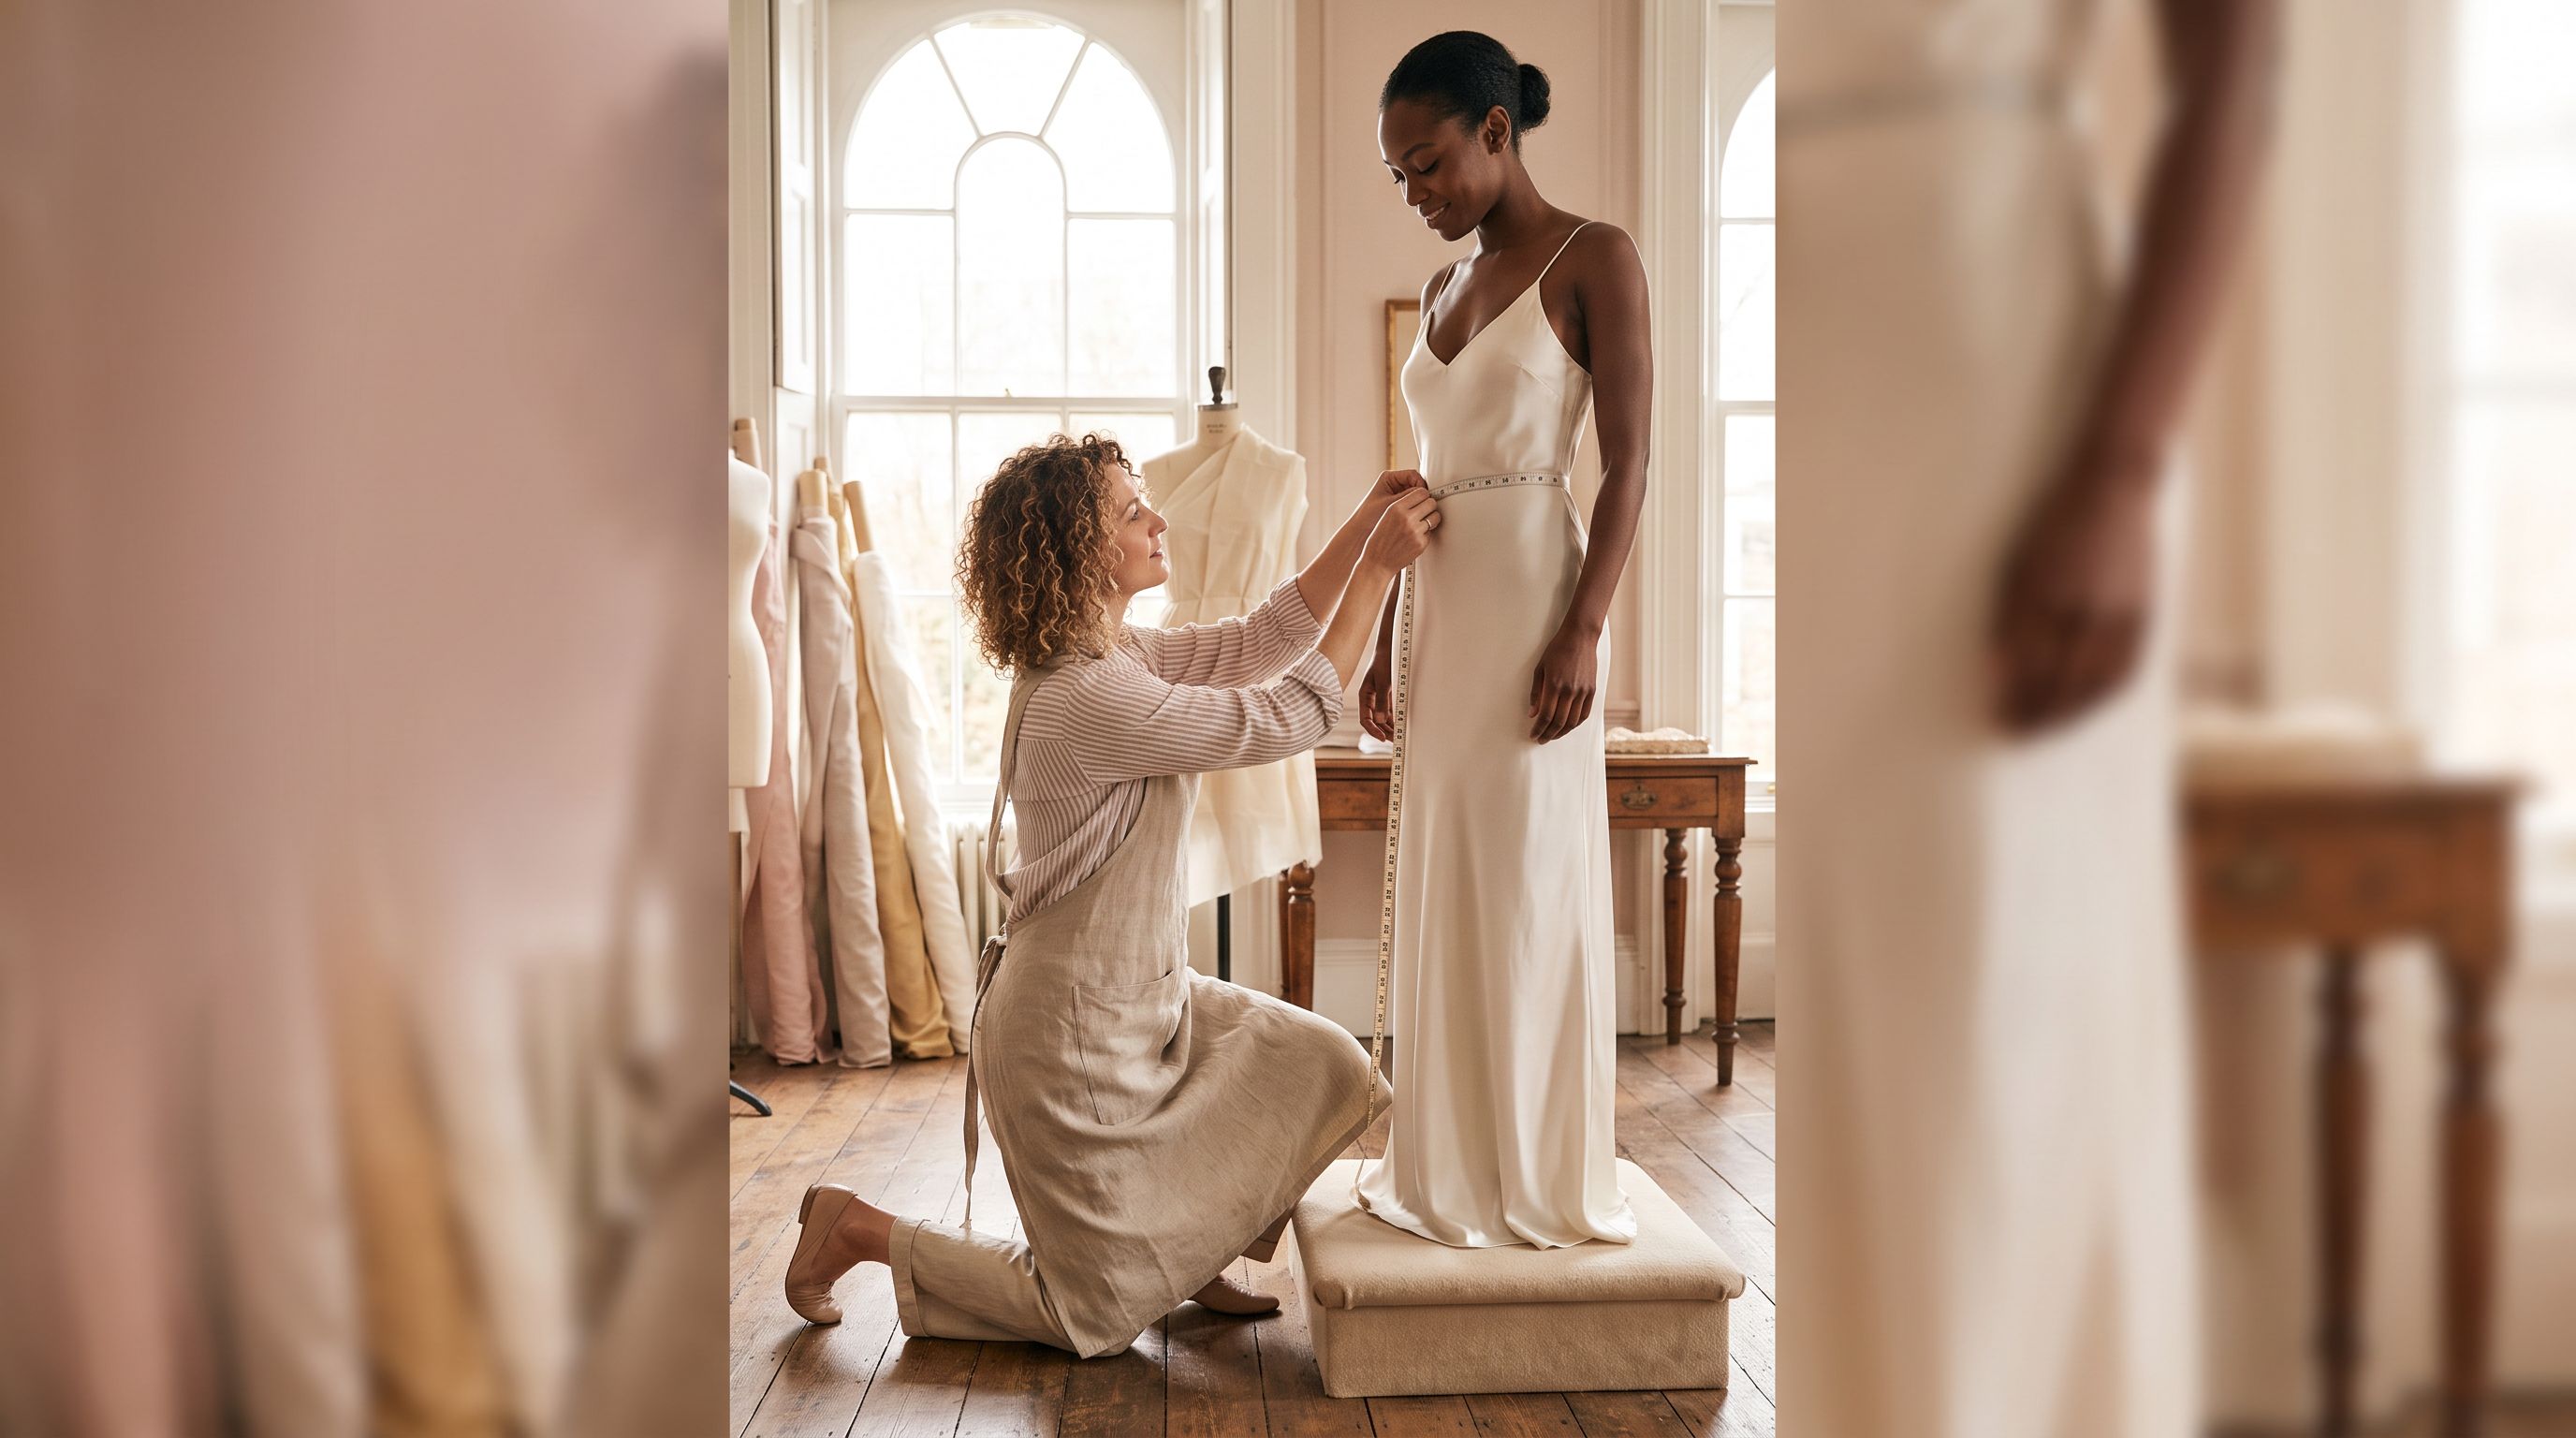
There’s a moment in almost every custom gown journey where someone hands you a tape measure and a form with fifteen blanks on it, and it suddenly feels very high-stakes. It shouldn’t. Measurements aren’t a test you can fail — they’re a first draft. But they are the blueprint your dressmaker drafts a pattern from, and a half-inch (about 1 cm) error in the wrong place is the difference between a bodice that grips beautifully and one that gapes at the neckline in every photo.
Here’s how to take them, what each one is actually for, and how to spot a maker who measures properly.
What you need before you pick up the tape
Gather these first — improvising halfway through is how errors creep in.
- A soft cloth or fibreglass tape measure. Not a metal builder’s tape, not a piece of string you plan to lay against a ruler afterwards.
- A second person. You genuinely cannot measure your own back length or shoulder slope accurately. If you’re truly alone, a mirror and a phone camera on a timer help — but flag it to your maker.
- The undergarments you’ll wear, or the closest thing you own. A push-up bra versus a smoothing bra can change your full bust by an inch (2.5 cm) or more and moves your bust point up or down. If your gown will have built-in support or a corseted foundation, say so — your maker may want you measured braless or in a light bralette. If you wear breast forms, a prosthesis, or a binder, measure in the exact one you’ll wear on the day.
- A narrow ribbon or length of elastic to tie at your natural waist. This is the single best trick for consistent numbers.
- Your wedding shoes, or shoes of the same heel height. Hem length is measured with them on.
- A notes app or printed chart, and one unit system. Inches or centimetres. Never both.
The measurements a dressmaker actually wants
A full made-to-measure record is longer than most people expect, and that’s a good sign, not a red flag.
Ask around and most experienced makers will tell you the same thing: in a boned or closely fitted bodice, errors of roughly a quarter-inch (6 mm) start to become visible, while a loose A-line or a soft crepe skirt forgives far more. That’s a rule of thumb from the workroom, not a published rule — but it explains why good makers re-measure so often.
Circumference (horizontal) measurements
- Full bust — around the fullest point, tape level all the way round, arms relaxed.
- Underbust / ribcage — snug directly under the bust. This drives structured bodices more than full bust does.
- Natural waist — at the ribbon, snug but not tight, breathing normally.
- High hip — about 3–4 in / 8–10 cm below the waist, across the top of the hip bones.
- Full hip — the fullest part of hip and seat, usually 7–9 in / 18–23 cm below the waist. Note how far down it was.
- Upper arm (bicep) and wrist — essential for any sleeve.
- Neck / high chest — for high necklines and illusion panels.
Width measurements
- Shoulder to shoulder, across the back at the top of the shoulder seam.
- Across back, roughly 4 in / 10 cm below the nape.
- Across front (chest width), above the bust, armhole to armhole.
- Bust point to bust point, apex to apex.
Vertical measurements — the ones people skip
- Hollow to waist — throat hollow, down the centre front, to the waist ribbon.
- Shoulder to bust point — mid-shoulder to apex.
- Nape to waist — centre back neck to the ribbon.
- Waist to hip — how far down your fullest hip sits.
- Waist to floor — front, side and back, in your shoes.
- Hollow to hem — throat hollow to where you want the hem to fall, in your shoes. Say whether you want it kissing the floor or floating ½ in / 1 cm above.
- Height and arm length (shoulder to wrist, arm slightly bent).
Chests vary far more than size charts admit. If you’ve had a mastectomy, wear forms or a prosthesis, or will wear a binder, measure in that exact item and tell your maker which one — the apex is what darts, princess seams and the waist seam are drafted around, and forms, a reconstructed chest or a bound chest place it differently (often higher and nearer the centre front) than an unbound breast. If your chest is asymmetric, take shoulder-to-bust-point on each side separately and note it.
And if your wedding outfit isn’t a Western fitted gown — a lehenga, cheongsam or qipao, hanbok, kaftan, a two-piece, or a tailored suit — most of these numbers still transfer. Circumferences, shoulder width, arm length and torso lengths are universal; what shifts is emphasis. A qipao leans hard on underbust, waist, hip and shoulder slope; a lehenga blouse needs detailed chest, armhole and sleeve numbers plus skirt waist-to-hem; a suit adds inseam and outseam.
Why your measurements won’t match any size chart
Don’t panic when your numbers meet a bridal size chart. Bridal sizing is its own universe and commonly runs one to two sizes smaller than high-street sizing — though it varies by label, and there’s no industry standard forcing anyone to be consistent. We unpack it in bridal sizing vs street size, but the short version: in true made-to-measure there is no size. There’s you, and a pattern drafted to you.
That’s also why one number rarely defines a gown. A maker isn’t hunting for “a size”; they’re reading the relationships — how much bigger your hip is than your waist, how long your torso is relative to your height, whether one shoulder sits lower than the other.
Measurements tell a dressmaker your dimensions. A toile tells them your body. The good ones insist on both.
Home measurements vs. being measured in person
If you’re ordering from a maker overseas or entirely online, your home measurements carry far more weight — and so does the toile or fit sample they send. Ask explicitly, before you pay a deposit, how fit will be verified from a distance.
How to take them, step by step
-
Set up
Strip to the underwear (and forms or binder) you’ll wear under the gown. Tie the ribbon at your natural waist, put your wedding shoes on, and stand relaxed in front of a mirror, arms at your sides. If standing for twenty minutes isn’t realistic — wheelchair use, chronic pain, fatigue — measure seated or with support, in stages, with breaks. That’s a valid measurement set, not a compromise. Take hips, waist-to-hem and waist-to-floor in the position you’ll actually be in on the day, since seated hip spread and skirt length differ from standing ones, and label clearly which numbers were taken seated. -
Work top to bottom, horizontal first
Neck, high chest, full bust, underbust, waist, high hip, full hip, bicep, wrist. Keep the tape parallel to the floor — your helper should check the back hasn’t ridden up. -
Then the widths
Shoulder to shoulder, across back, across front, bust point to bust point. This is where a helper is non-negotiable. -
Then the verticals
Hollow to waist, shoulder to bust point, nape to waist, waist to hip, waist to floor (front, side, back), hollow to hem in your shoes. Note the heel height on the sheet. -
Measure twice, record once
Redo anything that felt uncertain. If two attempts differ by more than about ¼ in / 6 mm, do a third and use the middle value. -
Add photos and context
Front, side and back photos in fitted clothing, plus notes: scoliosis, a lower shoulder, a prosthesis or forms, a binder, reconstruction, recent or expected body changes, nursing or pregnancy. Context isn’t oversharing — it’s what lets a maker draft you correctly the first time.
When to re-measure
Bodies change across a long engagement, and that’s normal and planned for. Most makers take fresh measurements at the toile fitting and again before final construction, then fine-tune at the last fitting — which is why the custom timeline builds in that cadence rather than cutting everything at once.
Tell your maker promptly if your weight shifts noticeably either way, you change your bra, forms or support plan, you switch heel heights, you start or stop a training programme, or you’re pregnant or postpartum. Late-breaking news is almost always workable. Silent change discovered at the final fitting is the expensive version.
Take the twenty minutes, take them carefully, and bring the sheet to your first conversation. A dressmaker looking at an honest set of measurements and a few clear photos can tell you far more — about what’s possible, what it will cost, and how long it will take — than one working from a vague description. It’s the simplest way to make a first consultation genuinely useful.
Ready to bring your dream dress to life?
Tell us what you're picturing — style, timeline, and budget — and we'll connect you with custom dressmakers who can make it. Free, no obligation.
Get matched with a dressmakerRelated guides
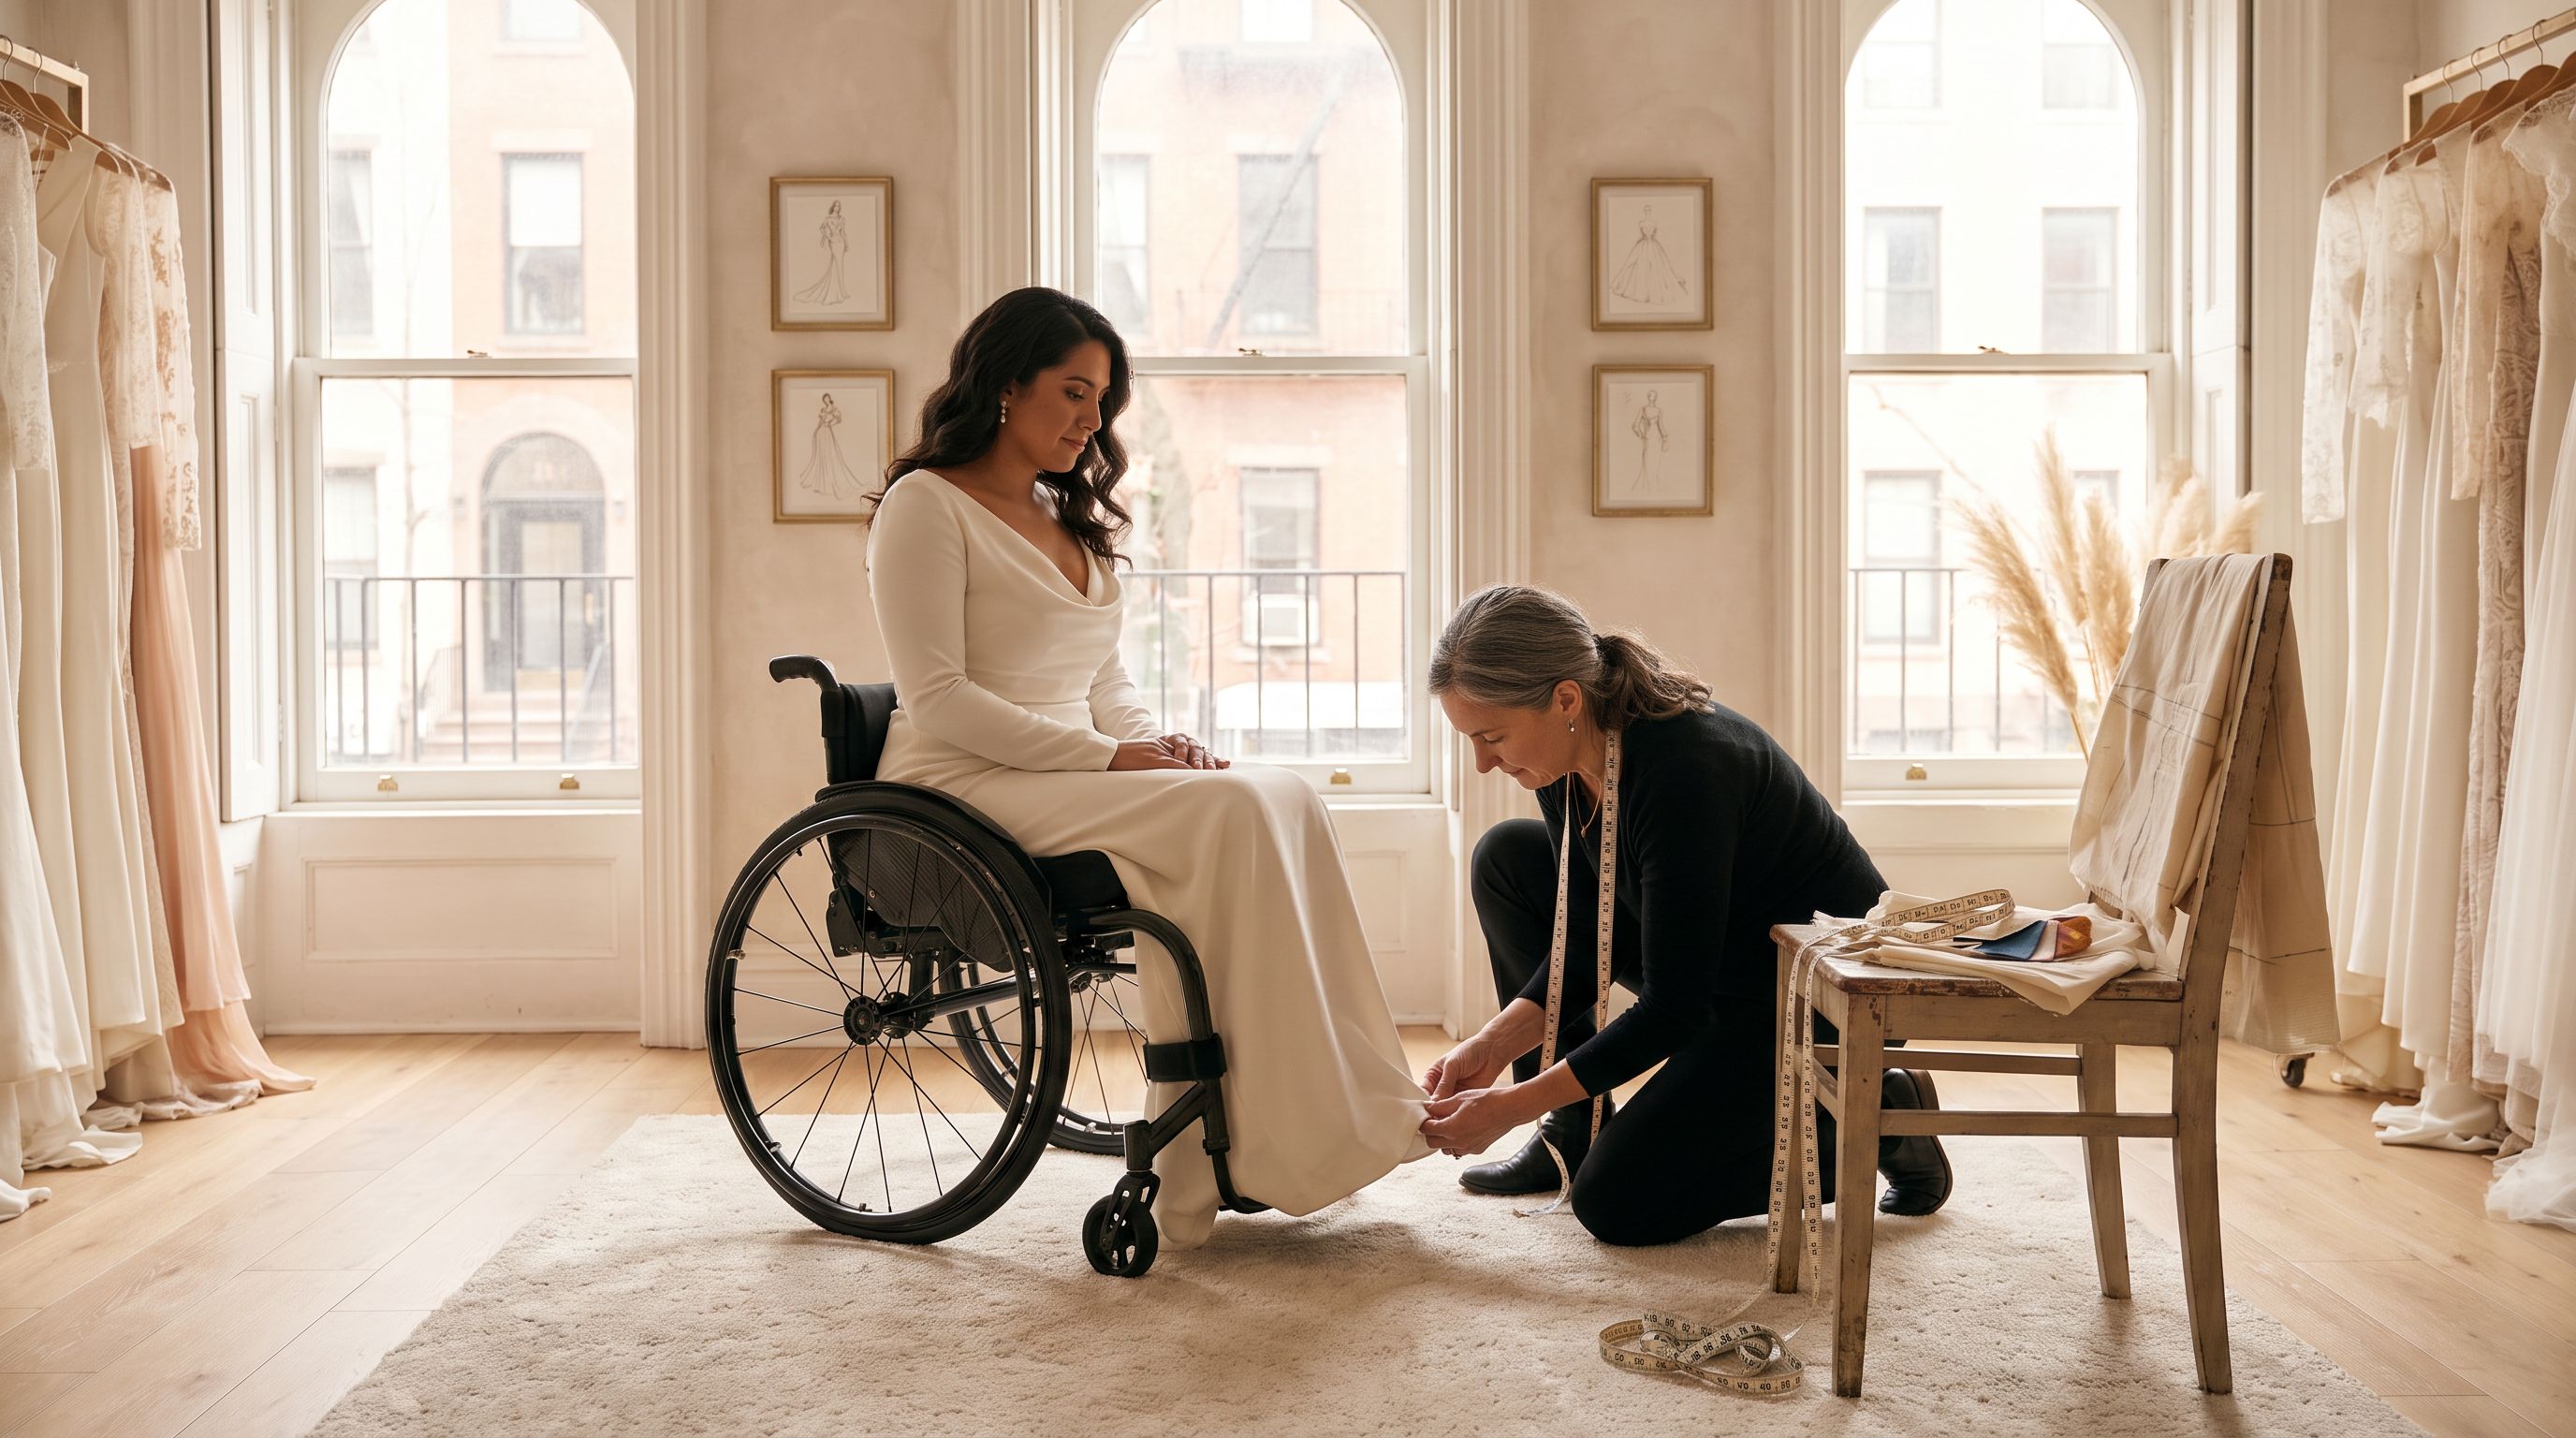
Adaptive Custom Wedding Dresses: Seated Fit and Access
How an adaptive custom wedding dress is drafted for a seated fit, easy closures, and real mobility needs — plus realistic cost ranges, fittings, and what to ask a dressmaker.
Read guide →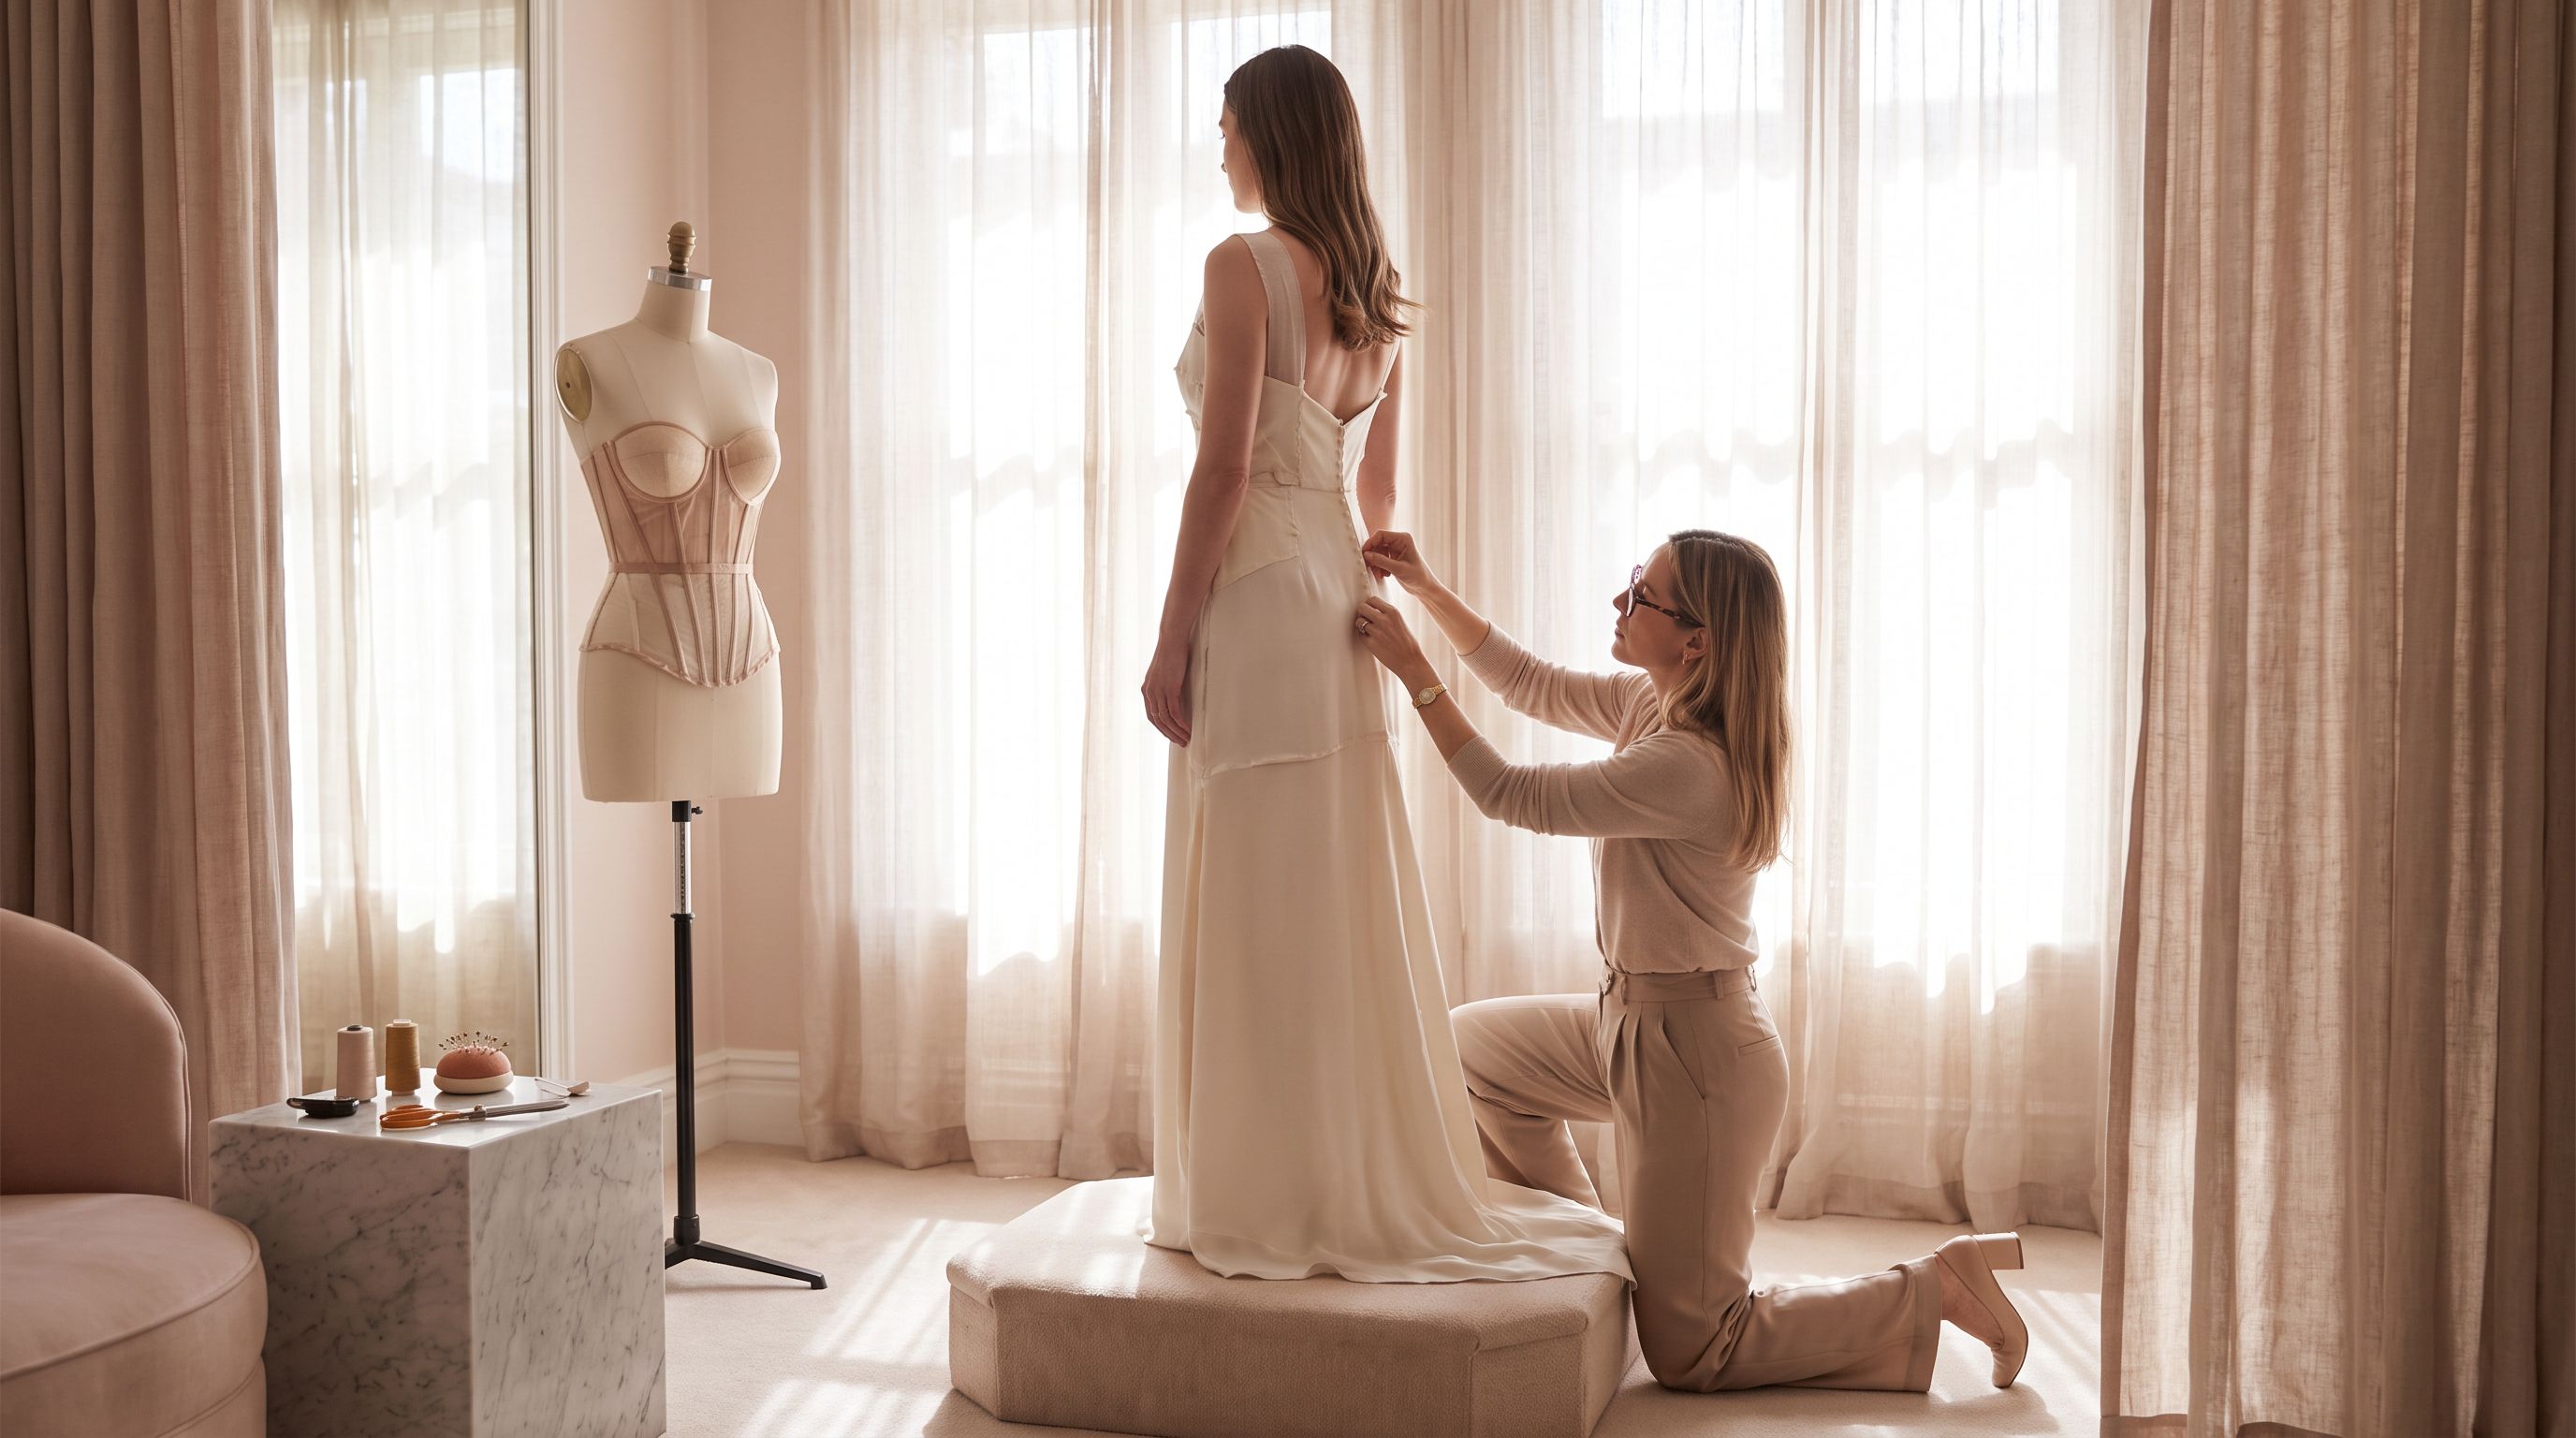
Corset vs Built-In Bra: Wedding Dress Support Explained
Corset, boning, or built-in bra cups? A clear guide to wedding dress support: what each does, what it costs in a custom gown, and how to choose for your bust.
Read guide →
Custom Wedding Dress When Your Body Is Changing
Weight loss, pregnancy, IVF or surgery before the wedding? How a custom wedding dress can be built to adjust — fittings, timing, fabrics and real costs.
Read guide →